Showing 1–9 of 22 resultsSorted by popularity
-
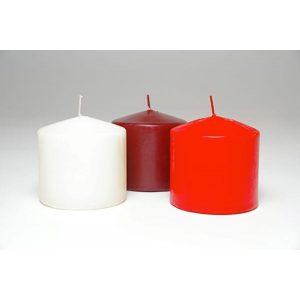
Scented Pillar Candle -Rose (Red candle on right)
$3.80 Add to cartImmerse yourself in the classic fragrance of roses with our Scented Pillar Candle. A perfect blend of elegance and aroma, designed to enhance your space.
-
Scented Pillar Candle -Jasmine (White candle on right)
$3.80 Add to cartExperience tranquility with our Jasmine Scented Pillar Candle. Enjoy 35 hours of enchanting aroma and a touch of elegance in any room.
-
Scented Pillar Candle -Cranberry (Burgandy candle in middle)
$3.80 Add to cartAdd warmth and elegance to your space with our Cranberry Scented Pillar Candle. Enjoy up to 35 hours of sweet, tangy fragrance and a beautiful burgundy glow.
-
Sale!
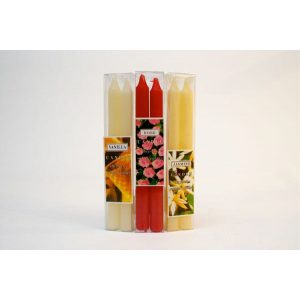
Scented Tapers-Vanilla 2 pack (Cream candles on right)
Original price was: $2.75.$1.00Current price is: $1.00. Add to cartEnjoy the comforting scent of vanilla and candle glow for up to 8 hours with these Vanilla Scented Taper Candles.
-
Scented Tapers-Rose 2 pack (Red candles in middle)
$2.75 Add to cartEnjoy the floral charm and candle glow for up to 8 hours with these Rose Scented Taper Candles.
-
Sale!
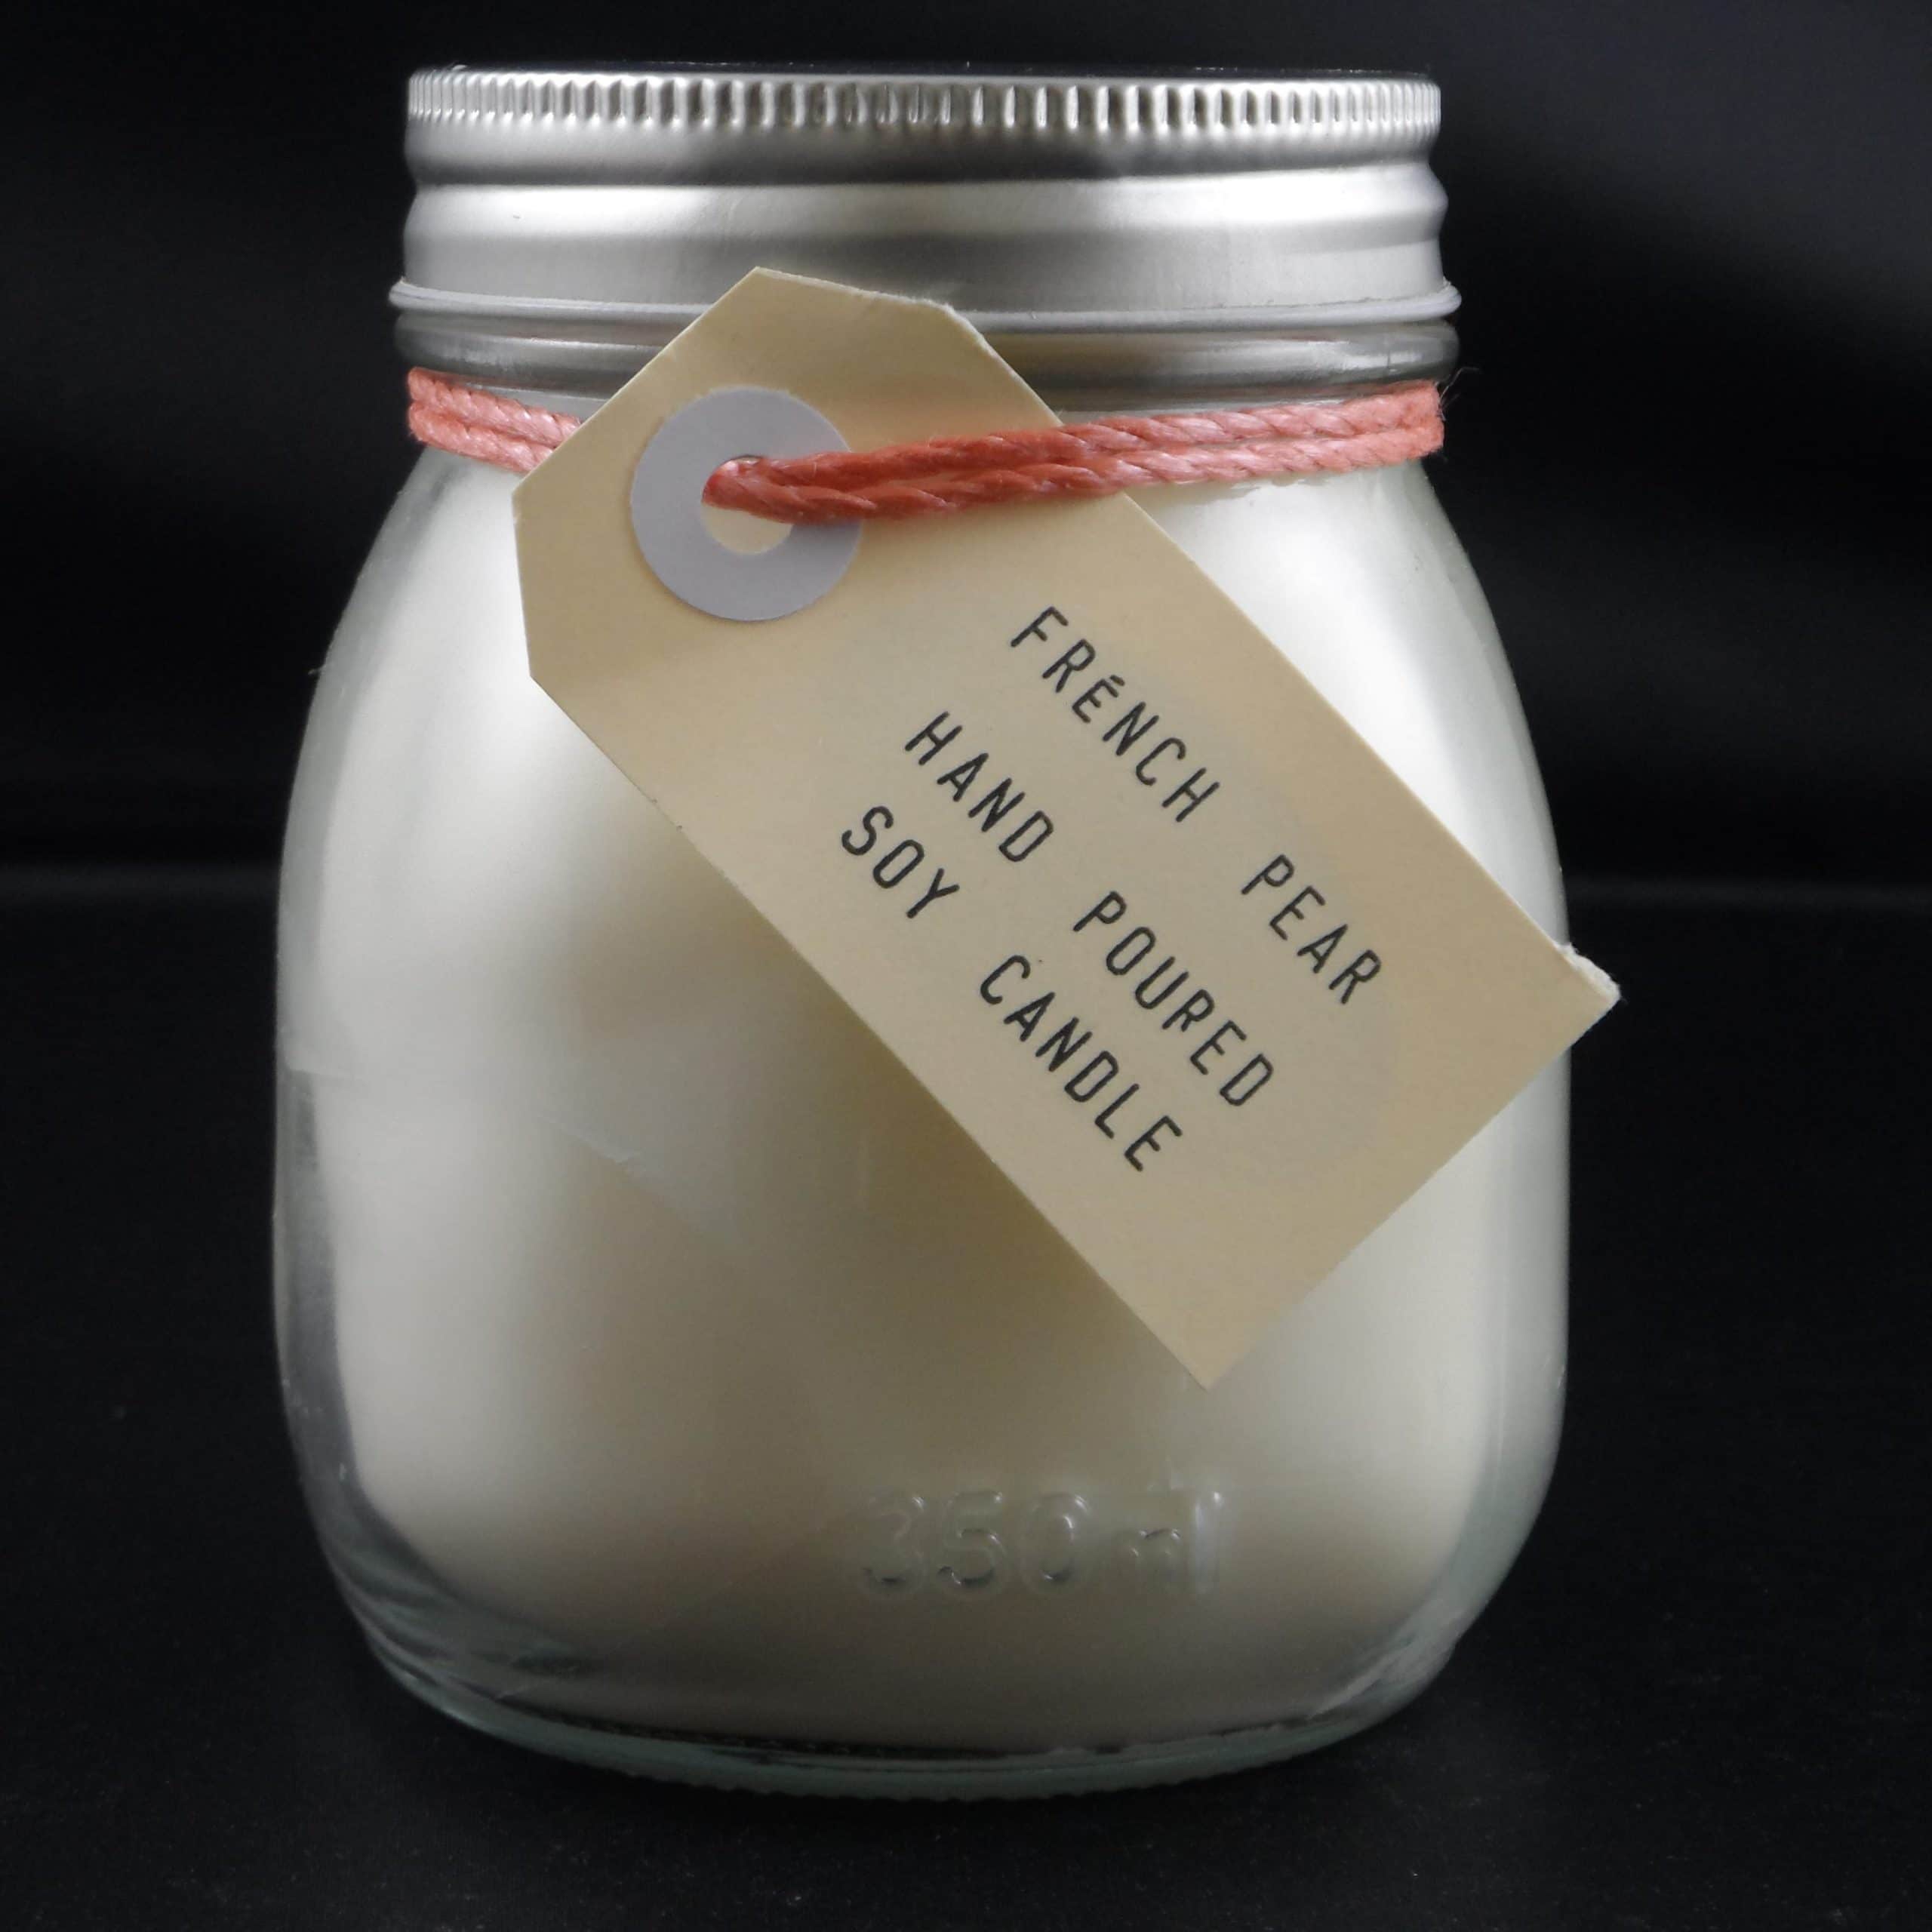
Fragrant Soy Wax Candle – French Pear 250mls. Made in NZ
Original price was: $29.90.$24.90Current price is: $24.90. Add to cartTreat yourself with this sweet scented French Pear candle. This hand-poured soy wax candle burns cleanly and is proudly made in NZ.
-
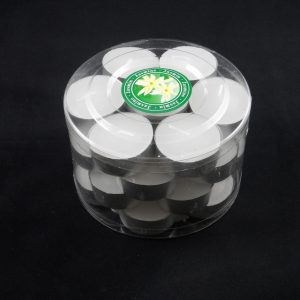
Scented Tea Light-Jasmine 28 pack
$6.50 Add to cartEnjoy the tranquil scent of our Jasmine Scented Tea Lights. Perfect for creating a warm and inviting atmosphere, they have a 4-hour burn time and come in a handy pack of 28.
-
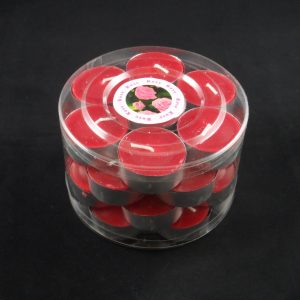
Scented Tea Light-Rose 28 pack
$6.50 Add to cartEnjoy the floral charm of our Rose Scented Tea Lights. Perfect for creating a warm and inviting atmosphere, they have a 4-hour burn time and come in a handy pack of 28.
-
Sale!
Scented Tapers-Jasmine 2 pack (White candles on left)
Original price was: $2.75.$1.00Current price is: $1.00. Add to cartEnjoy the tranquil scent of jasmine and candle glow for up to 8 hours with these Jasmine Scented Taper Candles.
